Had a fair amount of stuff going on in the evenings this week, but did make some good progress anyway. Got the plexi drilled to the frame, final fit the plexi in terms of sizing (or at least very very close). Got the plexi countersunk for rivets, drilled the frame out to #30 and the plexi out to 5/32". Match drilled the cap strip, and moved the rail to get a better fit of the aft bow to the fuse.
Just starting to drill the plexi to the frame. Had the centerline marked already. Laid out a pattern of rivet locations at 2" spacing per the plans. Van's suggests putting masking tape on the frame, then by pressing on the plexi a line will appear and you can know where to drill. It *does* work, but the line is very faint. In hindsight I probably should have peeled away the vinyl along the line.
Working down the center bar.
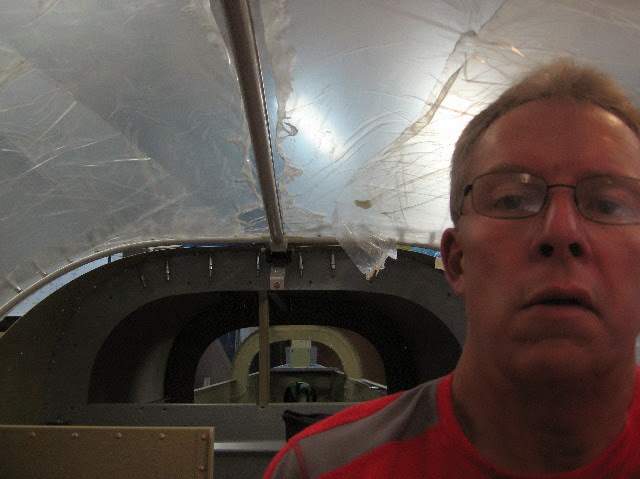
Mandatory picture showing me drilling so the inspector can see that yes, I really did build this plane. :)
Finished with drilling the plexi to the frame. Big sigh of relief. I only had a couple of holes where I didn't hit my spot exactly. Pretty happy overall.
You can't really tell, but this is after sanding down the aft edge a bit to clean it up and deburring it all.
Test fit. I had the frame the perfect width when it was clamped, but drilling it all changed something and it's a bit snug again. I'll try to take that back out. Also noticed that now it's drilled the aft bow was a bit high. I unclecoed the rail and slid it around until I had a better fit ( moving the slide rail will raise/lower the aft edge because of the ramp at the back). I have to move the rail aft about 3/8". I'll do that later once I've confirmed the exact amount.
Cutting the aft skirts to size. Van's gives you a large sheet of .032 with a couple of patterns drawn on it with a black sharpie and you trim them out. Mine were pretty faint and I wish I'd had a paper template. That said, the were legible enough that I was able to darken the light lines enough to be able to trim by.
Basically these will get wrapped around the aft edge of the canopy and hang off the back to cover the cap between the aft part of the plexiglass bubble and the fuselage skin.
A lot of people end up making them out of fiberglass, but I'm not a huge fiberglass fan so I'm going to at least give the aluminum a chance.
You can't final trim the bottom edge of the plexi until the bubble has been match drilled and clecoed to the frame. Even though it's tight when clamping, drilling and clecoing tightens it down even more. The right side ended up needing no trimming at all. I had to cut about 1/8" off the left side here. I found it was easier to tip the whole frame up and leave it on the frame. I backed the fore and aft bows with scrap aluminum so I wouldn't slip and cut the bows. This was much easier and I didn't have to worry about somehow supporting the floppy canopy while I tried to trim it.
Here's what I think the final panel will look like. Not the panel of my dreams, but it's what I think I can afford. Dynon Skyview Touch (big screen in the middle). Dynon D10 backup instrument on the left. Garmin 196 in an AirGizmo mount on the right, with an SL40 comm and VAL NAV 2000 below. Garmin audio panel in the mockup but I'll probably use the Dynon. I'd like an enroute IFR GPS, but that will have to wait. What you can't see is the engine monitoring and transponder since they are all remote mounted. The Skyview does have a WAAS GPS builtin, as well as a two axis autopilot. Incredible amount of capability here.
My solution to back drilling the cap strip. Again, I didn't want to try to support the bubble or flip it over for risk of cracking it. I clamped it to the frame slightly offset, then back drilled while I supported the hole with a scrap piece of wood, clecoing as I went. Worked pretty well.
Here's the view from the inside. I'd have tried the latch, but I haven't drilled the cap strip for the handle yet so I can't get it through there. Overall it looks like a pretty good fit. I need to grind/trim the front edge down so it's all uniform.
Looking aft. I've lowered the aft bow too much at this point. Needs to come up a bit. Right now it's just sitting there and held with the allthread/nut.
Starting to countersink the plexi for the rivets/cap strip.
All the holes have been countersunk, frame enlarged to #30, canopy holes enlarged to 5/32" with a plexi bit and deburred. The forward and aft edges have been final ground, deburred and beveled.
Trial fit getting ready to do the forward windscreen. I've lowered the aft edge by moving the rail aft about 3/8" to 1/2". The fit is very good at the back. I'll start working on the windscreen next.