Way behind on the updates, and I haven't been able to work on the project much. Also had a bunch of stuff to do around the house.
I was at a conference in Bethesda a few weeks ago. It ended up around noon, which gave me a chance to run out to Winchester. There is an engine shop I'd heard good things about that I wanted to visit. Got a chance to meet Tom Schweitz at Aero Engines (who seems like a great guy), and he gave me some options re: engines. I've basically got my pick - he carries both ECI and Superior, and can either build one for me per my specs or I can come up and build it with one of his guys. Also mid-time are not a problem. He'd just received a shipment of 19 O-320s from an outfit that was upgrading their Super Cubs to O-360s. They obviously do a ton of engine work, and seem completely able to do the job, as well as having a good reputation among both the certified and experimental community.
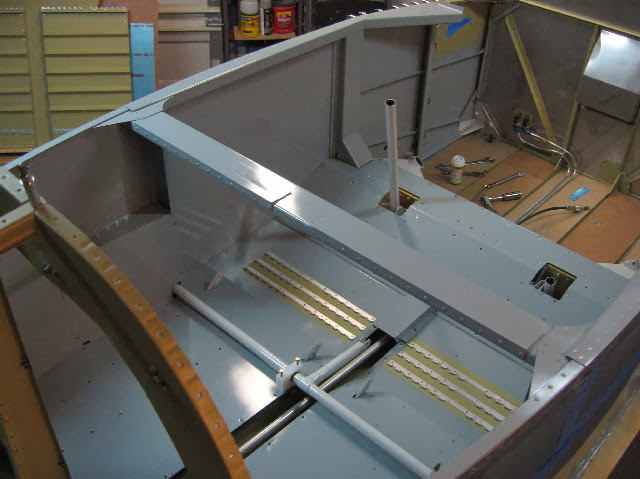
Basically in the last few weeks I've finished up as much as I can on the empennage, mounted the Van's avionics tray in the fuse and painted the interior.
Last thing to do on the empennage was to mount the aft tie down. It's riveted to the forward side of the aftmost bulkhead. I made up a drilling guide/jig from some scrap aluminum so I could get everything lined up. There is no way (that I have anyway) to drill from the tie down bar into the bulkhead. It's too tight. There is also no good way to clamp the tie down bar in that position.
Basically what I did was lay out the tie down bar, drilled it on the drill press, then match drilled the drilling jig, the laid that out on the aft bulkhead, then drilled the bulkhead. Once I had both drilled, I clecoed the tie down bar in place and cleaned the holes up. I drilled everything undersize (#40) so the alignment would be no problem.
Here's the drilling jig getting aligned with the bulkhead.
I match drilled the bulkhead using the jig, then clecoed the tie down bar (which was already drilled) into place.
Inside view of the tie down bar clecoed in place. Tight fit.
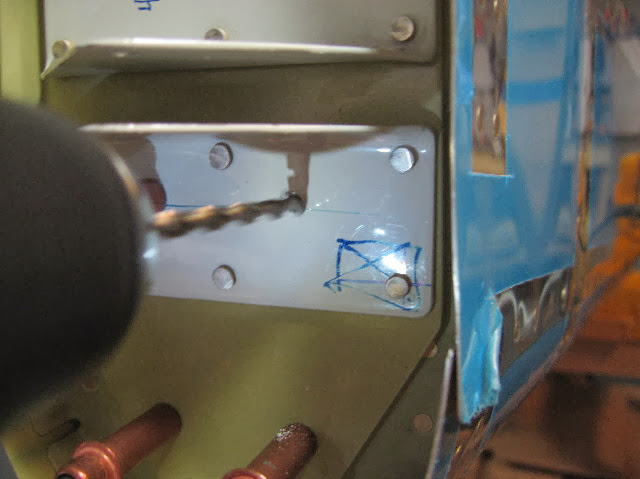
Once I was done with that, I had to match drill the lower vertical stab spar to the aft bulkhead. This will be bolted in place later. These holes go through the bulkhead and the tie down bar as well.
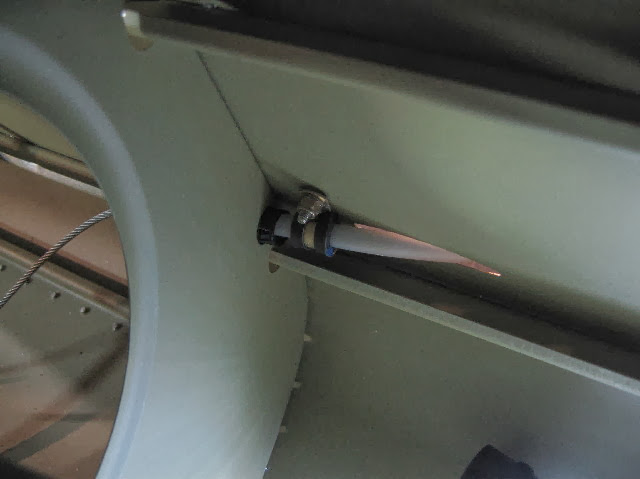
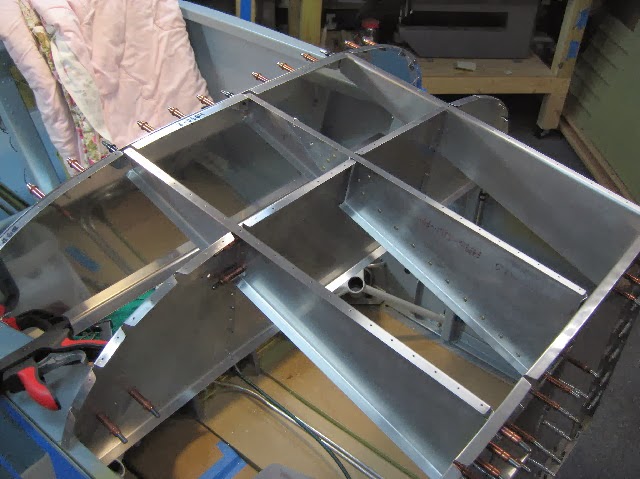
Starting to work on the avionics tray. Van's sells a AHARS (or ADAHARS) tray that fits right behind the aft baggage wall. This gets it clear of magnetic interference as much as possible. I'm using manual trim, so the trim cable is a bit in the way - I'm going to install a nutplate in the elevator horn rib and clamp the trim cable with an adel clamp.
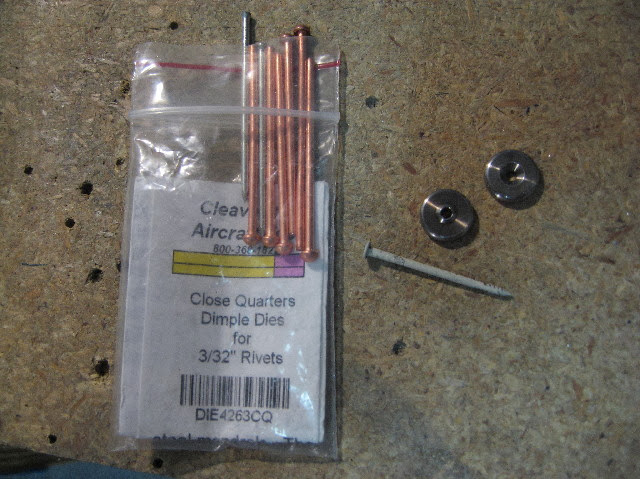
Since there is no way to dimple, I used my tight fit dimple kit I got from Cleaveland. It works pretty well if you pull it a couple of times. They give you copper finishing nails, but I found that some stainless vinyl trim nails work much better. I can do 2 holes before they are stretched too much and break.
Holes in aft bottom skin all dimpled.
Everything riveted together as mush a possible and test fit. The tray is leveled so that the AHARS has a good attitude reference.
I won't permanently rivet it til I get the actual unit. This one is drilled for both Garmin and one other manufacturer. I'm planning on using Dynon, so I'll install the nut plates when I have the actual AHARS and can accurately lay it out.
Time to paint the interior since it's wide open, and this is the easiest time. I haven't decided if I will fabric the interior or not. I tried several paints, shopped around, looked at a lot of ideas (textured, Zolatone, Stewart systems, etc.) I finally settled on some Rustoleum I found. It's pretty durable, and the color is a nice contrast with the Van's powder coat (it's Becca approved!).
I played with it and was able to get a slightly textured finish (which is what I was looking for - didn't want it to have too much glare).
I spent days sanding, hitting it with scotch brite pads, , cleaning and masking.
More masking. I will only paint forward up to just above the upper stiffener. The panel will cover everything else, and I don't want to add more weight than I need.
Aft cockpit all masked.
In the middle of painting.
More or less finished with the panels lightly screwed into place. Pretty happy with how it came out.
Aft side. It won't win a Lindy, but it will be more than adequate for me. Just hope it holds up well. If not, a fabric kit from Flightline or DJ @ Cleavelend is always an option.


